

Access point installation looks simple: put a bracket on the ceiling, plug in a cable, wait for the light to turn green. In practice most Wi-Fi problems that reach a service desk trace back to how the access points went in. Wrong height, wrong position, a switch port without enough PoE, a cable run that was never tested, or no labels so nobody can tell which access point is which.
This guide covers what a good wireless access point installation involves for business sites: planning from the survey, mounting, placement, PoE and cabling, labelling and testing. It’s written for the IT provider sending an engineer to do the work, so it ends with what to put in the ticket.
Plan the access point installation from the survey
Access point positions should come from a design, not from wherever the ceiling grid has a convenient gap. That design might be a predictive model, an onsite survey, or both. If you don’t have one, it’s worth getting one first. Our wireless site survey service covers predictive and onsite work, and our guide to the types of wireless site surveys explains which fits.
What the engineer needs from the design is practical: a floor plan with each access point marked and named, the mounting height, the mounting type (ceiling tile, hard ceiling, wall, beam), and any notes on orientation. A position that’s half a metre off doesn’t usually matter. One that ends up on the other side of a concrete wall does, so if the planned spot isn’t possible, the engineer should call before improvising.
Site readiness before install day
Most wasted install visits come down to something that wasn’t ready. Before the engineer travels, get confirmation on the points that block the work entirely. The cabling should be in and tested to every access point position, with results you’ve actually seen. If the runs are still going in, our guide to structured cabling installation covers what to ask the contractor for. The switch should be installed and patched, with PoE enabled on the right ports and the VLANs and management configured. The access points and brackets should be on site, and someone should know where they’re stored.
Then the practical points. Confirm the ceiling height and the access equipment needed, whether ceiling tiles can be lifted and who replaces any that crack, and whether there’s asbestos information for an older building before anyone drills into a hard ceiling. Check whether the work has to happen out of hours because the space is occupied. And confirm whether the access points need to be claimed to the cloud dashboard or pre-provisioned on the controller before they’re powered up, because some will otherwise pick up a default configuration.
A short call with the site contact a day or two before the visit catches most of these. It costs far less than a wasted trip.
Mounting: ceilings, walls and brackets
Most indoor access points are designed to be mounted on a ceiling, facing down, with the antenna pattern spreading out below. Mount them that way unless the vendor says otherwise. Wall mounting changes the coverage pattern and is best kept for corridors, hotel rooms or places where the design specifically calls for it.
Common mounting situations:
- Suspended ceilings: a T-bar clip or tile bracket, with the cable dropped through the tile. Check the grid will take the weight.
- Hard ceilings: a solid bracket fixed into the structure, with the cable either concealed or in neat trunking.
- Exposed beams or high warehouse roofs: beam clamps or drop rods, sometimes with external antennas pointing down the aisles.
- Walls: a bracket at the height in the design, oriented as the vendor recommends.
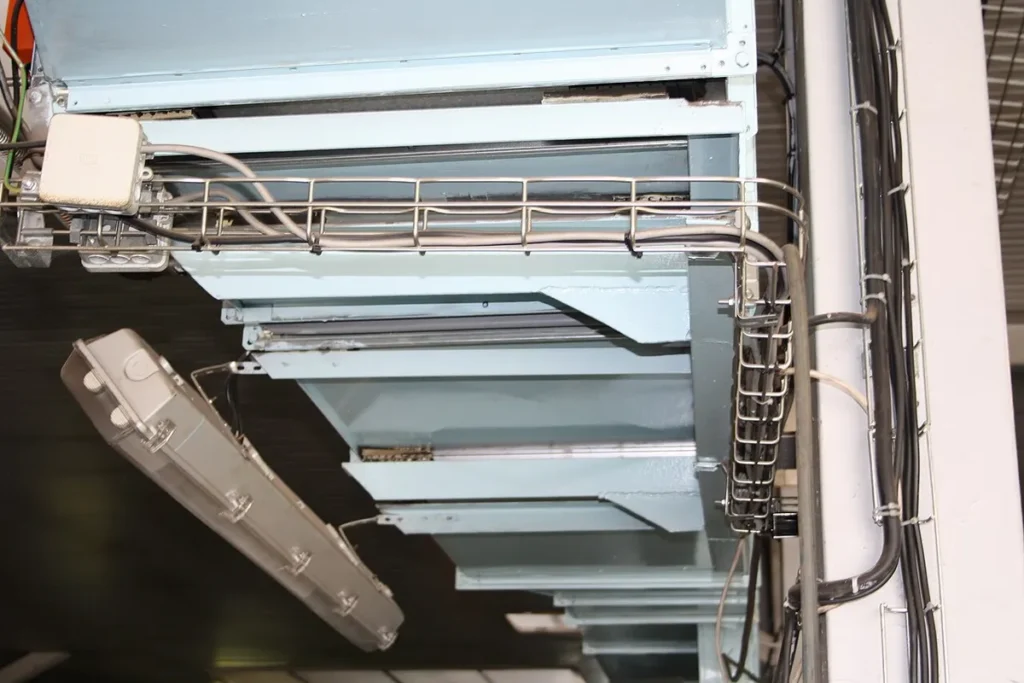
Use the vendor’s bracket and its security screw or lock where one exists. Access points in public areas get knocked, moved and occasionally taken. Avoid mounting above the ceiling tiles unless the design allows it, because metal grids, ducts and cable trays above the tile attenuate and reflect signal.
Height and placement
Height matters more than people expect. Most internal-antenna access points are designed for typical office ceiling heights. Mount them much higher, as in atriums, halls and warehouses, and the signal at ground level weakens and the cells overlap in ways the design didn’t intend. In those spaces, follow the survey: it may specify drop rods, a lower mounting point, or directional antennas.
On placement, a few rules hold on almost every site:
- Keep access points clear of metal objects such as light fittings, ducts, cable trays and beams
- Don’t place them directly above or behind lift shafts, fire doors or filing walls
- Keep them away from other radio equipment, including DECT bases and other access points
- Put them where users are, not tucked in corners or above cupboards
- Leave enough space around the unit for heat and for the status light to be visible
PoE and cabling
Most business access points are powered over Ethernet, so the switch port has to deliver enough power. The standards are well established: 802.3af (PoE) provides up to 15.4 W at the switch port, 802.3at (PoE+) up to 30 W, and 802.3bt up to 60 W or 90 W depending on type. Newer Wi-Fi 6E and Wi-Fi 7 access points often need PoE+ or more for full functionality. On too little power, some will boot but disable radios or ports without making it obvious.
| Standard | Max power at switch port | Typical use |
|---|---|---|
| 802.3af (PoE) | 15.4 W | Older or basic access points, desk phones |
| 802.3at (PoE+) | 30 W | Many Wi-Fi 6 and Wi-Fi 6E access points |
| 802.3bt Type 3 | 60 W | Some Wi-Fi 7 and multi-radio access points |
| 802.3bt Type 4 | 90 W | Specialist devices, rarely access points |
Always check the vendor datasheet for the model you’re installing, because the power needed for full operation varies by model and by which features are enabled.
Check two things: the per-port class, and the total PoE budget on the switch once every access point, phone and camera is connected. A switch that can power any one device at full draw may not be able to power all of them at once. If a PoE injector is used, label it and make sure it’s on the UPS too.
Cabling should be Cat6 or better, tested and certified, and within the 100 metre channel limit. Cat6A is worth it where access points will use multi-gigabit uplinks. Leave a small service loop at the access point end so it can be moved slightly later without a new run, and use a proper patch lead, not a field-terminated plug on solid core cable.
Warehouses, high ceilings and outdoor access points
These installs follow the same principles with more risk attached. In warehouses the design will usually place access points over the aisles rather than over the racking, sometimes on drop rods to bring them down towards scanner height, sometimes with directional antennas aimed along the aisle. Agree how changes to stock and racking will be handled, because a full rack blocks far more signal than an empty one.
Working at height needs planning: a scissor lift or tower, someone trained to use it, and often a permit from the site. That’s normally for the site or for you to arrange, so put it in the ticket rather than leaving the engineer to find out on arrival.
Outdoor access points need a model or enclosure rated for the conditions, sealed cable entries, and surge protection and earthing on the cable run, following the vendor’s guidance. Mount them where they can be reached for maintenance, and aim external antennas as the design specifies, not by eye.
Labelling and documentation
Labels are what make the network supportable a year later. Every access point should be labelled with its name from the design, and that name should match the label on the outlet, the patch panel port, the switch port description and the name in the management system. When those five agree, a remote engineer can find any access point in seconds.
Record each access point’s name, serial number, MAC address, location, switch and port. Photograph each one installed, with the label visible. Those photos and serials go into the site visit report, which we deliver within 24 hours of every visit.
Testing before the engineer leaves
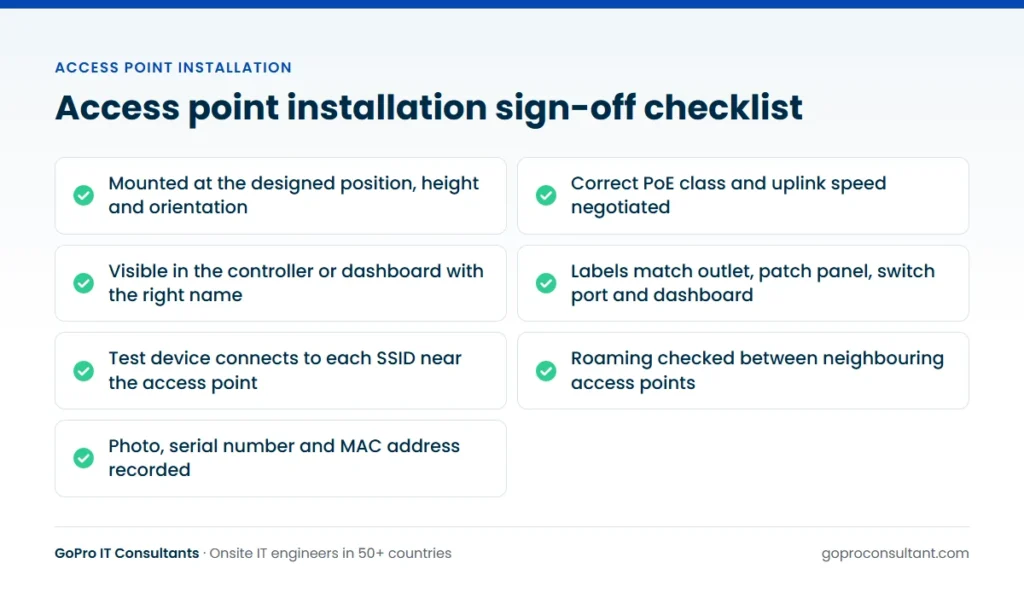
An access point that’s lit isn’t necessarily working. Before signing off, the engineer should, with the remote network team:
- Confirm each access point appears in the controller or cloud dashboard with the right name
- Check it negotiated the expected PoE class and uplink speed
- Confirm firmware and configuration have been applied
- Connect a test device to each SSID near each access point
- Check roaming between neighbouring access points by walking between them
- Note any access point that’s offline, under-powered or in the wrong position
If the design called for a post-install survey, that’s the moment to run it. Otherwise a simple walk test with a laptop or phone app catches the obvious problems.
Whatever can’t be fixed on the day goes into the report as an outstanding item: an access point waiting for a longer cable run, a port that needs moving to a PoE+ switch, a position blocked by a new partition. Each one should say what was found, what’s needed and who owns the next step. If a part or second visit is required, that becomes a new ticket, so the original job closes cleanly.
Common mistakes when fitting access points
Mounting wherever the cable reaches
If the cable drop is in the wrong place, the temptation is to mount the access point wherever the cable will reach. Call it in instead. A position a metre off may be fine. One that ends up beside a lift shaft won’t be.
Getting the orientation wrong
A ceiling-mount access point fixed to a wall, or turned the wrong way up, has a different coverage pattern from the one the design assumed. Follow the orientation in the design and the vendor’s mounting guide.
Checking power one port at a time
Each access point boots happily on its own port, so everything looks fine as you go. Connect the whole floor and the switch runs out of budget, and some access points quietly drop to reduced radios. Check the budget against the full load, not the first unit.
Leaving the labels for later
Labels that are going to be done at the end often aren’t. Label each access point, outlet and port as you go, and photograph it before moving to the next.
Signing off on the status light
A green light means power and maybe a link. It doesn’t confirm the right configuration, the right VLAN or working roaming. Only a test with the remote team does that.
A worked scenario: replacing access points in a live office
Say a client is replacing twenty old access points across an occupied floor with Wi-Fi 6E models, and the new units need more power than the existing switch can supply. A typical plan looks like this.
The survey confirms most positions can stay, with a few moved to cover the meeting rooms better. The cabling contractor runs the new cables for the moved positions in advance. A new PoE+ switch is configured centrally, and the work is booked as a scheduled visit after office hours so desks aren’t disturbed. On the night, the engineer racks and patches the new switch with your network engineer on a call, then works across the floor one access point at a time: remove the old unit and label it, fit the new bracket, mount and connect the new access point, confirm it’s online in the dashboard, and photograph it with its label.
Before leaving, the engineer walk-tests roaming across the floor and records any access point that didn’t come up. The old units are bagged, labelled with where they came from, and left for collection, or handed over for IT asset disposition through certified recycling partners. Users arrive in the morning to a network that’s already been tested, and you have a report with serial numbers for both the old and new kit.
Who does what on the job
| Task | Usually owned by |
|---|---|
| Wi-Fi design and access point positions | You, or a survey partner |
| Cabling to each position, tested | Cabling contractor |
| Switch configuration, PoE and VLANs | Your network team |
| Claiming or pre-provisioning access points | Your network team |
| Kit delivery and storage on site | You or your vendor |
| Access equipment and permits | The site, or you |
| Mounting, connecting and labelling | Onsite engineer |
| Remote testing and sign-off | Your network team with the engineer |
Write this split into the ticket. When something goes wrong on the day, it’s the quickest way to know who to call.
What to put in the ticket
A good access point installation ticket gives the engineer everything they need without a phone call. Include the floor plan with positions, mounting heights and types, the access point model and quantity, the bracket kit, where the kit is being delivered, access hours, ladder or lift requirements, the remote contact for testing, and the labelling scheme.
Say whether the work is under your brand. Engineers from GoPro IT Consultants can work under your badge and use your report template. For a single site, field engineer dispatch is the usual route. For many sites, treat it as a multi-site rollout and run the network side alongside managed network services. If switches are going in at the same time, our guide to network switch installation covers that part of the job.
Frequently asked questions
Can the engineer configure the access points on site?
They can follow your instructions, but most teams configure access points centrally or through a cloud dashboard. The engineer mounts and connects them, then confirms with your remote team that each one has picked up its configuration.
What if the planned position isn't possible on the day?
The engineer should call your remote contact before moving it, describe the obstacle and agree an alternative. The change is recorded with photos in the site visit report so the design can be updated.
Do we need to provide ladders or access equipment?
Say in the ticket how high the ceilings are. Normal office heights are fine with a standard ladder, but warehouses and atriums may need a scissor lift or tower, which the site or you will usually need to arrange.
Can old access points be removed and disposed of on the same visit?
Yes. The engineer can remove and label old units on the same visit, and disposal can be arranged through certified recycling partners as an IT asset disposition job.
Need access points installed at a client site?
Send the floor plan and AP positions. Our engineers mount, label and test under your brand, with a report in 24 hours.
Book an engineer